About a
year ago I was presented with the opportunity to brew a beer with Freetail Brewing at their new commercial brewery. When we were finished they gave me 5
gallons of the Berliner we brewed to take home and ferment. However, this post isn’t
about that beer. Before I left they also asked if I wanted any barrels (5
gallon barrels) since they don’t have any use for them at a large production
facility and they had been sitting there for a long time. I only know a brief history
of these barrels. I believe they are Balcones Distilling barrels, but I don’t necessarily
know which product was in them. Based off the smell of mine I think it was a
blue corn whiskey barrel. These barrels sat at the pub unused for a few years
and then in the dock of the production brewery for at least a year, before I
took one, where it sat in my upstairs guest room for over a year. I never
planned on using the barrel for beer, just to break it down and use it for
decorations. But then I was given another barrel, which was in pretty rough
shape. Now that I had two barrels I thought to myself, “why not try to salvage
the old one and see if it can make a drinkable beer”? I figured the worst thing
that happens is that I’m out of 5 gallons of beer, or I never fully seal the
barrel and can’t use it. The best outcome is that I have another barrel that I
can make more sour beer with for blending and added biodiversity.
Step 1: Involved
seeing if the barrel could even hold liquid. I placed the barrel in the sink,
which had remained plugged from the time I took it and while it was at the
brewery, and attempted to fill it with water. Right away there was a problem. The
barrel was leaking water from between the staves faster than it could fill up.
As a barrel dries out the wood shrinks, which causes gaps between the barrel’s
staves, which is why it’s important to keep a barrel filled.

Step 2: After
realizing I couldn’t fill the barrel to swell it I decided to fill the sink
with water and fill the barrel as full as I could get it, hoping this would
cause the barrel to hold water and start to absorb it to swell the wood again.
The issue I had with the sink is that it was not deep enough to fully submerge
the barrel and I didn’t have a bucket big enough to hold the barrel. I left the
barrel right side up for 24 hours and then rotated the barrel upside down. I repeated
these steps twice over the next few days. After rotating the barrel I could see
an immediate difference in the look of the staves.
Step 3: After
draining the barrel and removing it from the sink I attempted to hammer some of
the rings closer to the center to tighten the staves.
Step 4: I
drained the sink and checked to see if the barrel was leaking. Since it was
still wet it was hard to tell. I filled the barrel until it was full and
removed the barrel from the sink and placed it on a paper towel on its stand to
let the outside dry to check for leaks. As the barrel dried it was clear there
were still leaks on the bottom and around the head, through some of the staves
and the bottom of the barrel head.

Step 5: I
drained the barrel and filled it up with boiling water in an attempt to melt
the wax that is in the barrel to plug up any holes. This worked for the staves
on the head and the staves on the bottom of the barrel, but the barrel was
still leaking around the head. The problem was the fact that the barrel was
missing its ring that fits round the head. I didn’t have it and who knows where
it was located.
Step 6:
Lucky for me I had the backup barrel I wasn’t planning on using for beer. I
decided to use one of the rings from it to replace the missing one and
hopefully stop the leak. The problem was that my backup barrel was a different
shape, so its smallest ring was too big for the head of my barrel. I decided to
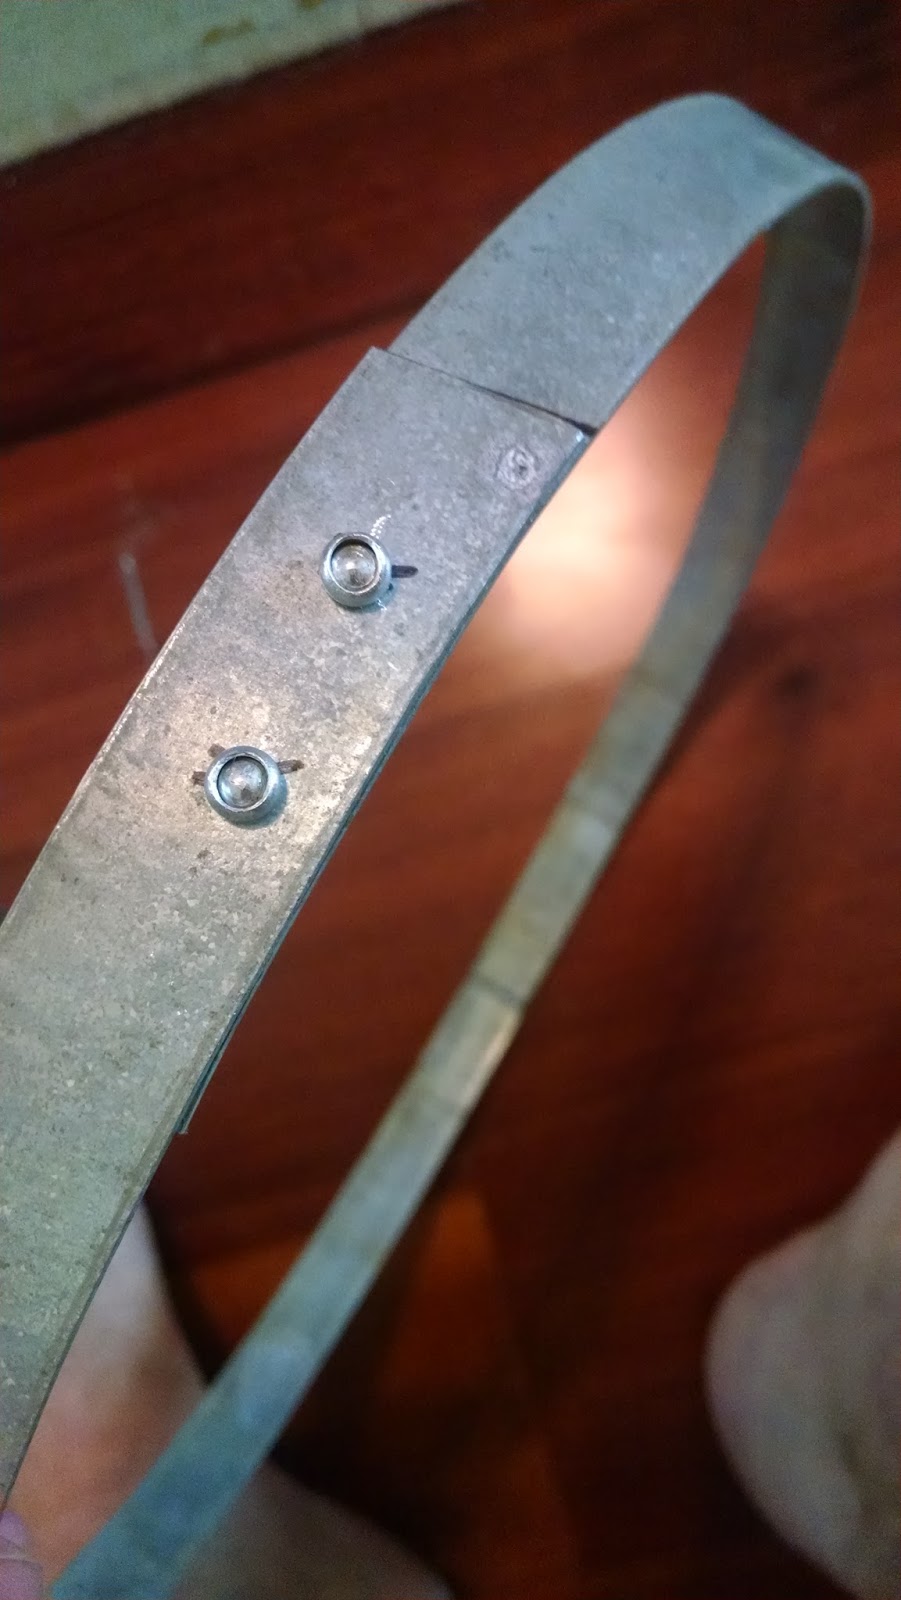
cut the rivets out of the ring and re-rivet it to the correct size. This
process was pretty easy. I used my Dremel to cut the rivets out and I bent the
ring as tight as I could around the head and marked it. I let the ring over
hang a little bit knowing I would need it to be smaller than what I could bend
it to tighten the head. After it was marked I drilled two holes through the
ring and used the hand riveter I picked up to re-rivet the ring together. Once
that was done I drained the barrel and hammered the ring to the head. Finally I
refilled the barrel and left it to see if it would hold water.
Step 7:
The next day I confirmed that the barrel was no longer leaking water and thus
needed beer in it to find out if it could still make something drinkable.
Luckily I had beer sitting around for blending and didn’t need all of it. I
drained the barrel and gave it a smell test. I figured if it smelled awful then
there was no point in using it. It didn’t smell bad, a little musty and it didn’t
have the blue corn whiskey aroma any more, probably from all the rinsing, but well
enough to where I thought I would refill it with beer. I filled it with my
generic Saison recipe that I use, about 4 gallons worth, and topped up the
remaining head space with a beer containing my house bug blend. I was not
planning on using this barrel to get any clean beers out of it.

Notes:
7/7/16 –
Filled the barrel with beer.
8/7/16 –
Pulled my first tasting from the barrel that I am attempting to bring back from
the dead. Big barrel aroma, some booze, clean tart flavor. I might have
actually saved it. I don’t think I’ll use this beer for fruit or anything yet
since the barrel character is still really strong. I’ll need to give it a few
batches until it becomes neutral. I might dry hop it.
8/15/16 - Added 2 ounces of Galaxy dry hops
8/25/16 - Bottled 4 gallons with 180 grams of table sugar
8/15/16 - Added 2 ounces of Galaxy dry hops
8/25/16 - Bottled 4 gallons with 180 grams of table sugar
No comments:
Post a Comment